Publish the changes to GitHub
So far, the changes you have made only exist in the codespace in which you are working.
In this section, you will first add the study changes that you've made to a new commit in your local repository — a commit represents a stored version of your work — and then send that commit to the remote repository that GitHub hosts by pushing the new commit.
Pushing changes to your remote GitHub repository:
- ensures the changes you have made persist even when the codespace is deleted
- enables others with permission to access your repository to see those changes
Add your changes to the local repository🔗
If you know how to use Git with the command-line, you can do so in the Visual Studio Code Terminal. Alternatively, you can use Visual Studio Code's Source Control feature, as demonstrated below.
Back in the GitHub codespace, open the Source Control panel by selecting the icon that has round dots connected by lines on the left-hand side. It should be below the magnifying glass icon.
When files in the repository are edited and then saved, Source
Control should list those changes. Note that Visual Studio Code in
the codespace has Auto Save enabled by default. If you left-click on a file
in Source Control, you'll see how your copy of the file has changed
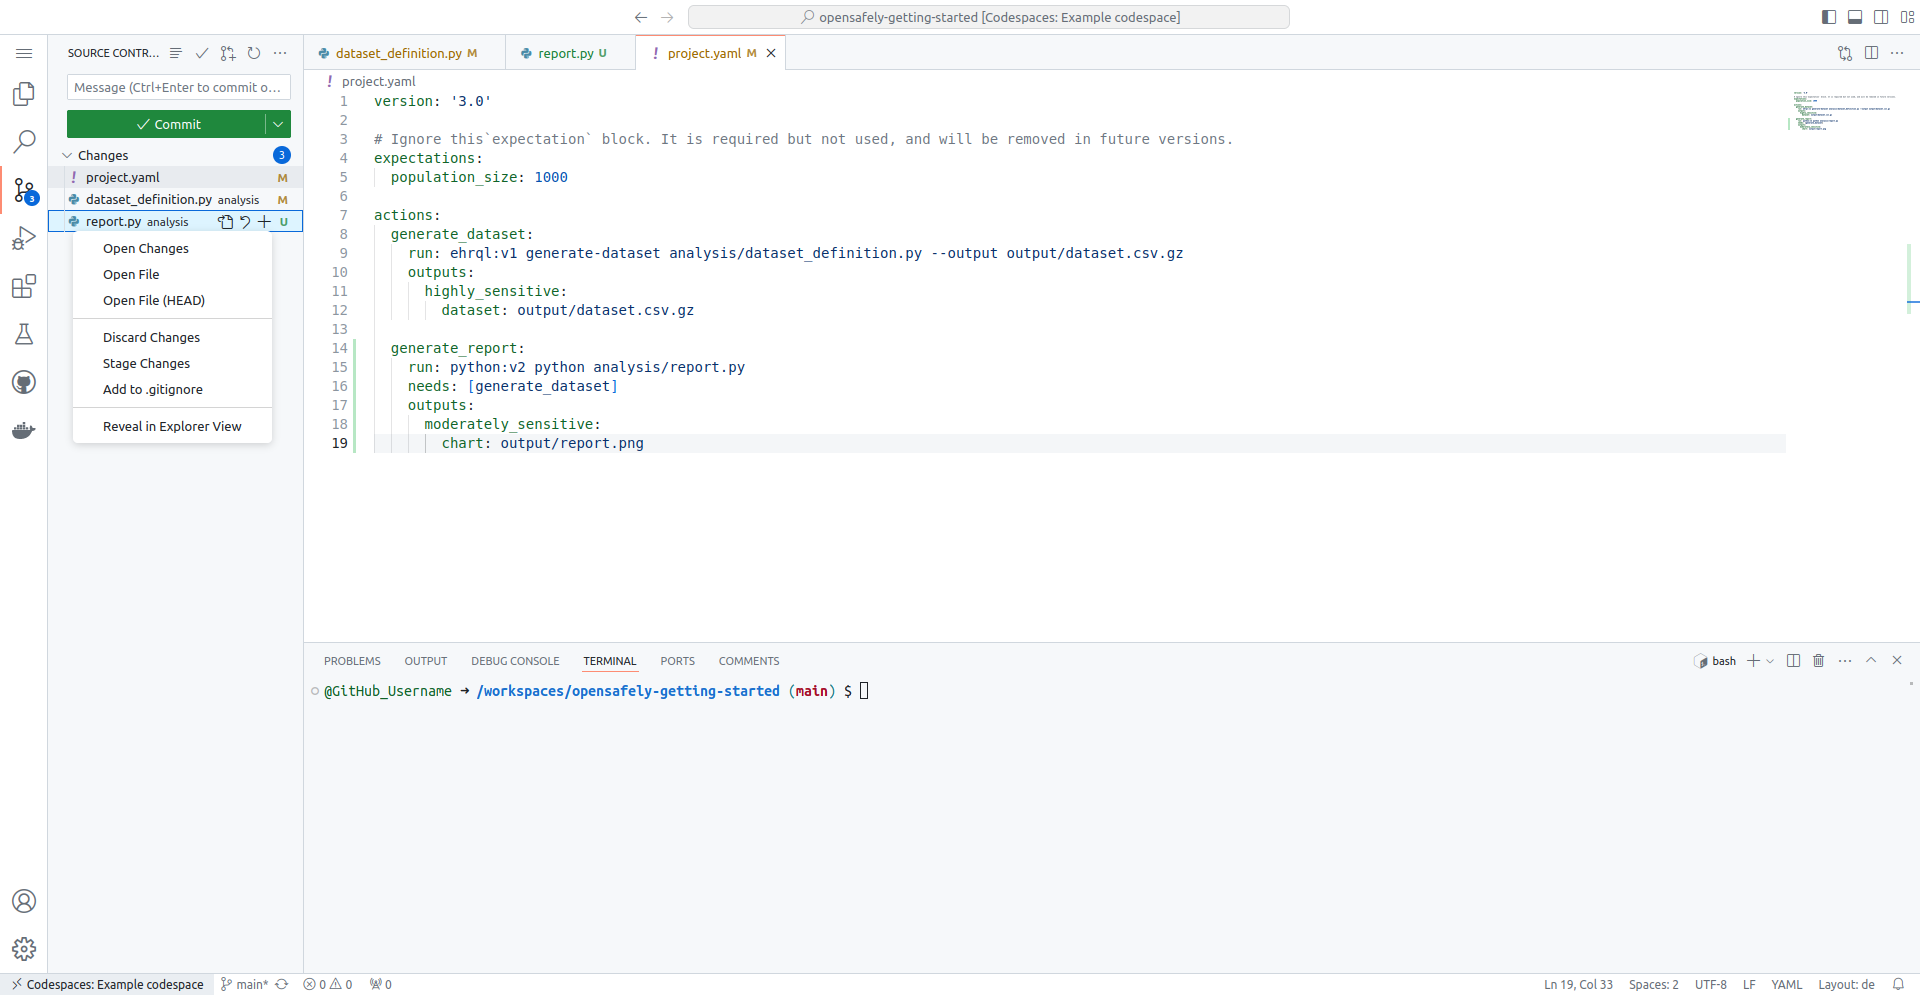
from the previous repository state. If you hover over a file in
Source Control under "Changes", you can propose to add the changes
to the repository by clicking the + icon next to the filename.
These "staged" changes then appear in the "Staged Changes" section.
Staged changes are changes that you are proposing to include in the next commit of this study repository. These could be modifications of existing files or entirely new files that you include.
It is also possible to "Discard Changes" if you accidentally stage a
file that you do not want to include. You can do this by hovering
over a file listed in the "Staged Changes" section and clicking the
- icon next to the filename.
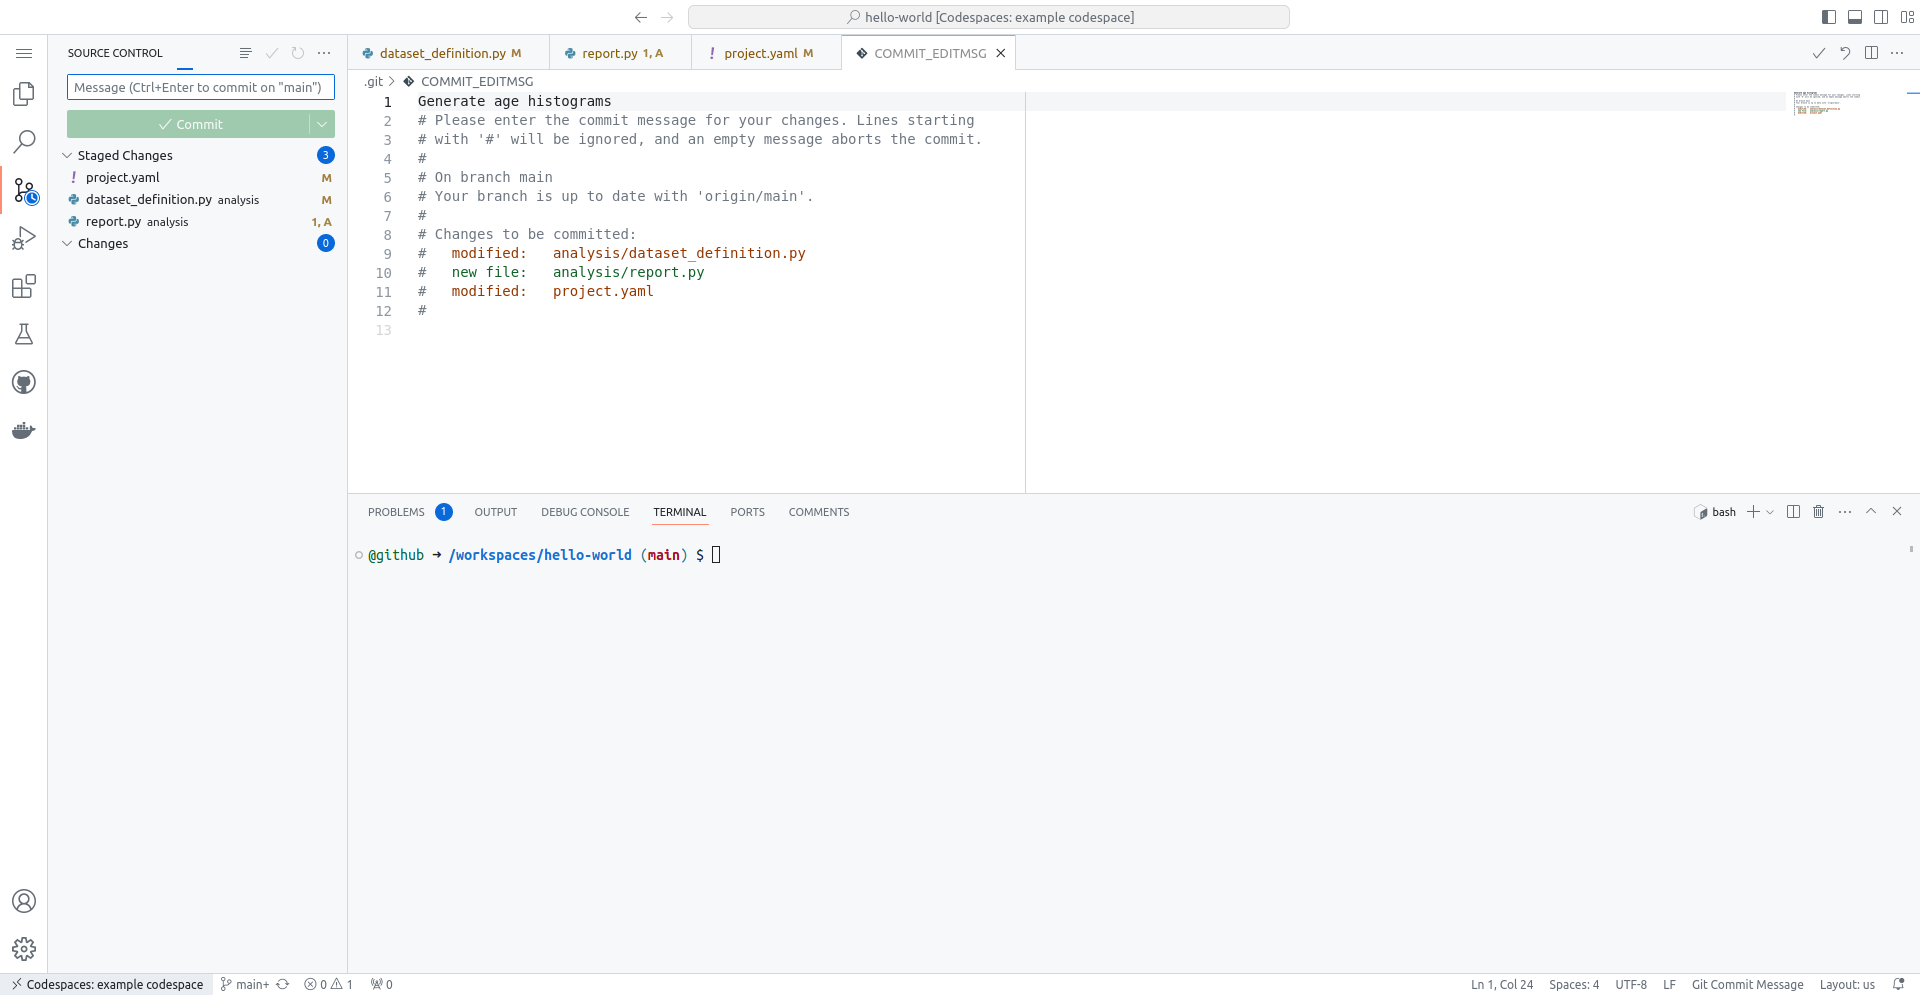
When you've finished staging all your changes, you are now ready to make the new commit:
- Type "Generate age histograms" where it says "Message" above the Commit button. This message summarises what your staged changes do.
- Click the Commit button or press Ctrl+Enter to commit the staged changes to add them to the repository as stored in the codespace.
Push the changes to the remote GitHub repository🔗
The changes have been stored as a new commit in the codespace's local copy of the repository. We now need to push the commit to the remote GitHub repository, to make the changes show up there.
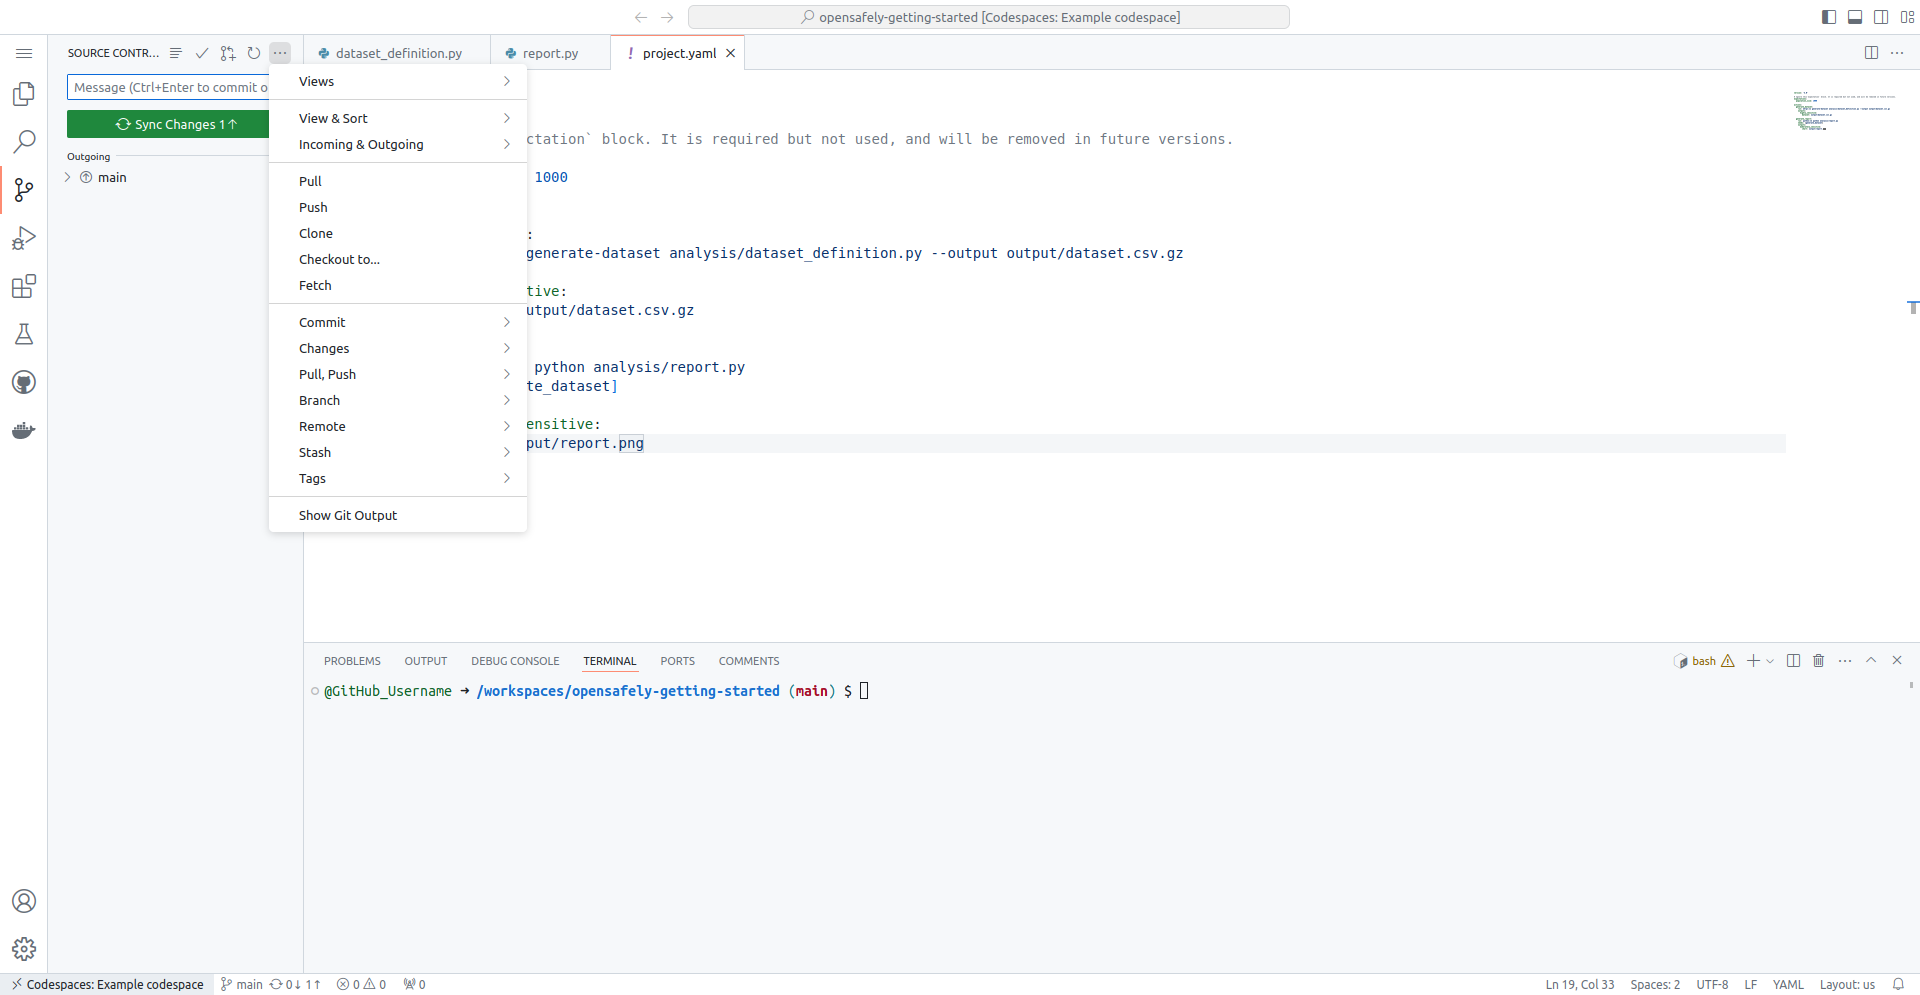
Click the "Sync Changes" button to push your commits. Alternatively,
click the ellipsis (⋯) icon next to "Source Control" and then select
"Push". This should submit your changes to the GitHub repository that
you created earlier.
You will see a prompt: 'This action will pull and push commits from and to "origin/main".' — click OK.
Seeing the changes in the remote GitHub repository🔗
The repository was created at:
https://github.com/<your_github_username>/opensafely-getting-started
If you now visit the repository on the main GitHub site, you should see the updated state of the repository with the changes you made in the codespace.