Install python
Warning
Please read even if you already have Python installed
For security, consistency, and readability, OpenSAFELY provides an API built in Python for using the platform. This API includes script-based functions for specifying the patients and variables that make up a study dataset (using ehrQL), and command line functions for importing codelists, generating dummy data, and testing that the study definition can be run successfully on the server. Python version 3.7 or higher must be installed on your machine to perform these tasks.
Many functions are provided in a Python module called opensafely which will also need to be installed — see the opensafely CLI section for more details.
Windows🔗
For Windows users, we recommend that you install Anaconda (Individual Edition), a popular Python distribution that includes an recent version of Python, many useful Python packages, and an environment manager. This will help avoid some fiddly annoyances when dealing with multiple versions/installations of Python.
To install:
- Download and run the Anaconda Python installer. Accept the default/recommended settings unless you understand the consequences of changing them This should have added Python and Anaconda Prompt to your machine (as well as a few other things).
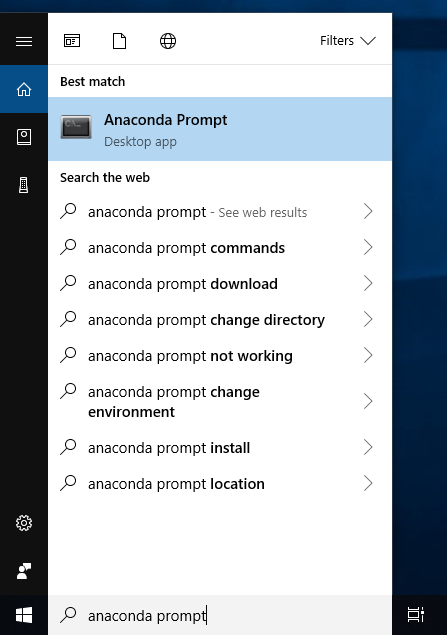
- When you've done, to verify your installation, open Anaconda Prompt by
clicking Start, search, or selecting Anaconda Prompt (or Anaconda Powershell)
from the menu.
 To verify that you can run Python with Anaconda Prompt, open it and run
 python --version.
You should use the Anaconda Prompt whenever you want to use the opensafely package.
Go to the opensafely CLI section for instructions on how to install this module.
macOS🔗
This guide was created using macOS 11.1
It is expected that this guide should work from 10.15 upwards but has only been tested with 11.1
Open Terminal.app by clicking the magnifying glass icon in the top right of your screen.
Type terminal and hit Enter.
Homebrew🔗
Install Homebrew, this should install the Xcode Command Line Tools for you as well.
This command might take a while to run depending on the speed of your internet connection.
/bin/bash -c "$(curl -fsSL https://raw.githubusercontent.com/Homebrew/install/HEAD/install.sh)"
Once homebrew is installed use it to install pyenv:
brew install pyenv
Next, install Docker for Mac, GitHub Desktop, and Visual Studio Code:
brew install --cask docker github visual-studio-code
pyenv🔗
Configure your shell to use pyenv:
Note
If you are using a shell other than ZSH you will need to edit and source the appropriate config file. pyenv has documentation for getting set up on various shells.
echo 'export PYENV_ROOT="$HOME/.pyenv"' >> ~/.zshrc
echo 'command -v pyenv >/dev/null || export PATH="$PYENV_ROOT/bin:$PATH"' >> ~/.zshrc
echo 'eval "$(pyenv init -)"' >> ~/.zshrc
Python🔗
Use pyenv to install Python:
This command might take a while to run depending on the speed of your computer.
pyenv install 3.10:latest
Look for the line Installing Python-3.10.n... (where n is a number).
This is the full version it has installed for you, eg 3.10.1.
Then enable this version (eg 3.10.1) in pyenv:
pyenv global system 3.10.1