macOS Install Guide🔗
This guide was created using macOS 11.1
It is expected that this guide should work from 10.15 upwards but has only been tested with 11.1
Use our guide to install Python first.
OpenSAFELY CLI🔗
Then install the OpenSAFELY CLI with pip:
pip install opensafely
And test the installation:
opensafely --help
If it is functioning, it should print out the usage and available sub commands:
usage: opensafely [-h] [--version] COMMAND ...

optional arguments:
  -h, --help  show this help message and exit
  --version   show program's version number and exit

available commands:

  COMMAND
    help      Show this help message and exit
    run       Run project.yaml actions locally
    codelists
              Commands for interacting with https://www.opencodelists.org/
Docker for Mac🔗
Set up Docker by opening the app you installed earlier:
open /Applications/Docker.app
You'll be warned about the system dialogue which is about to pop up, choose "OK".
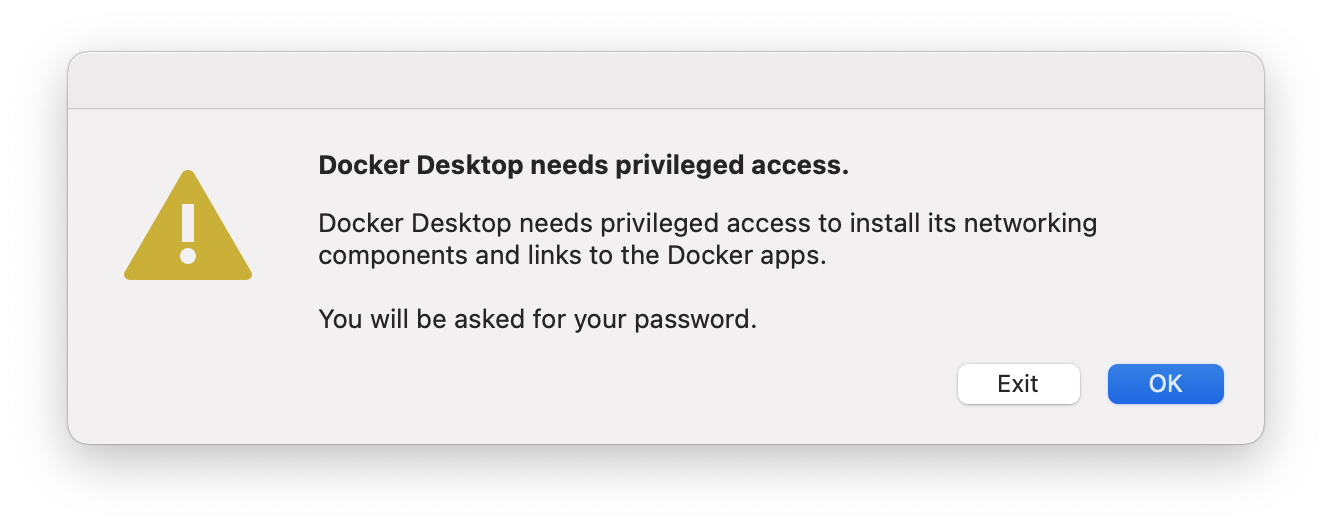
Enter your password and click "Install Helper".

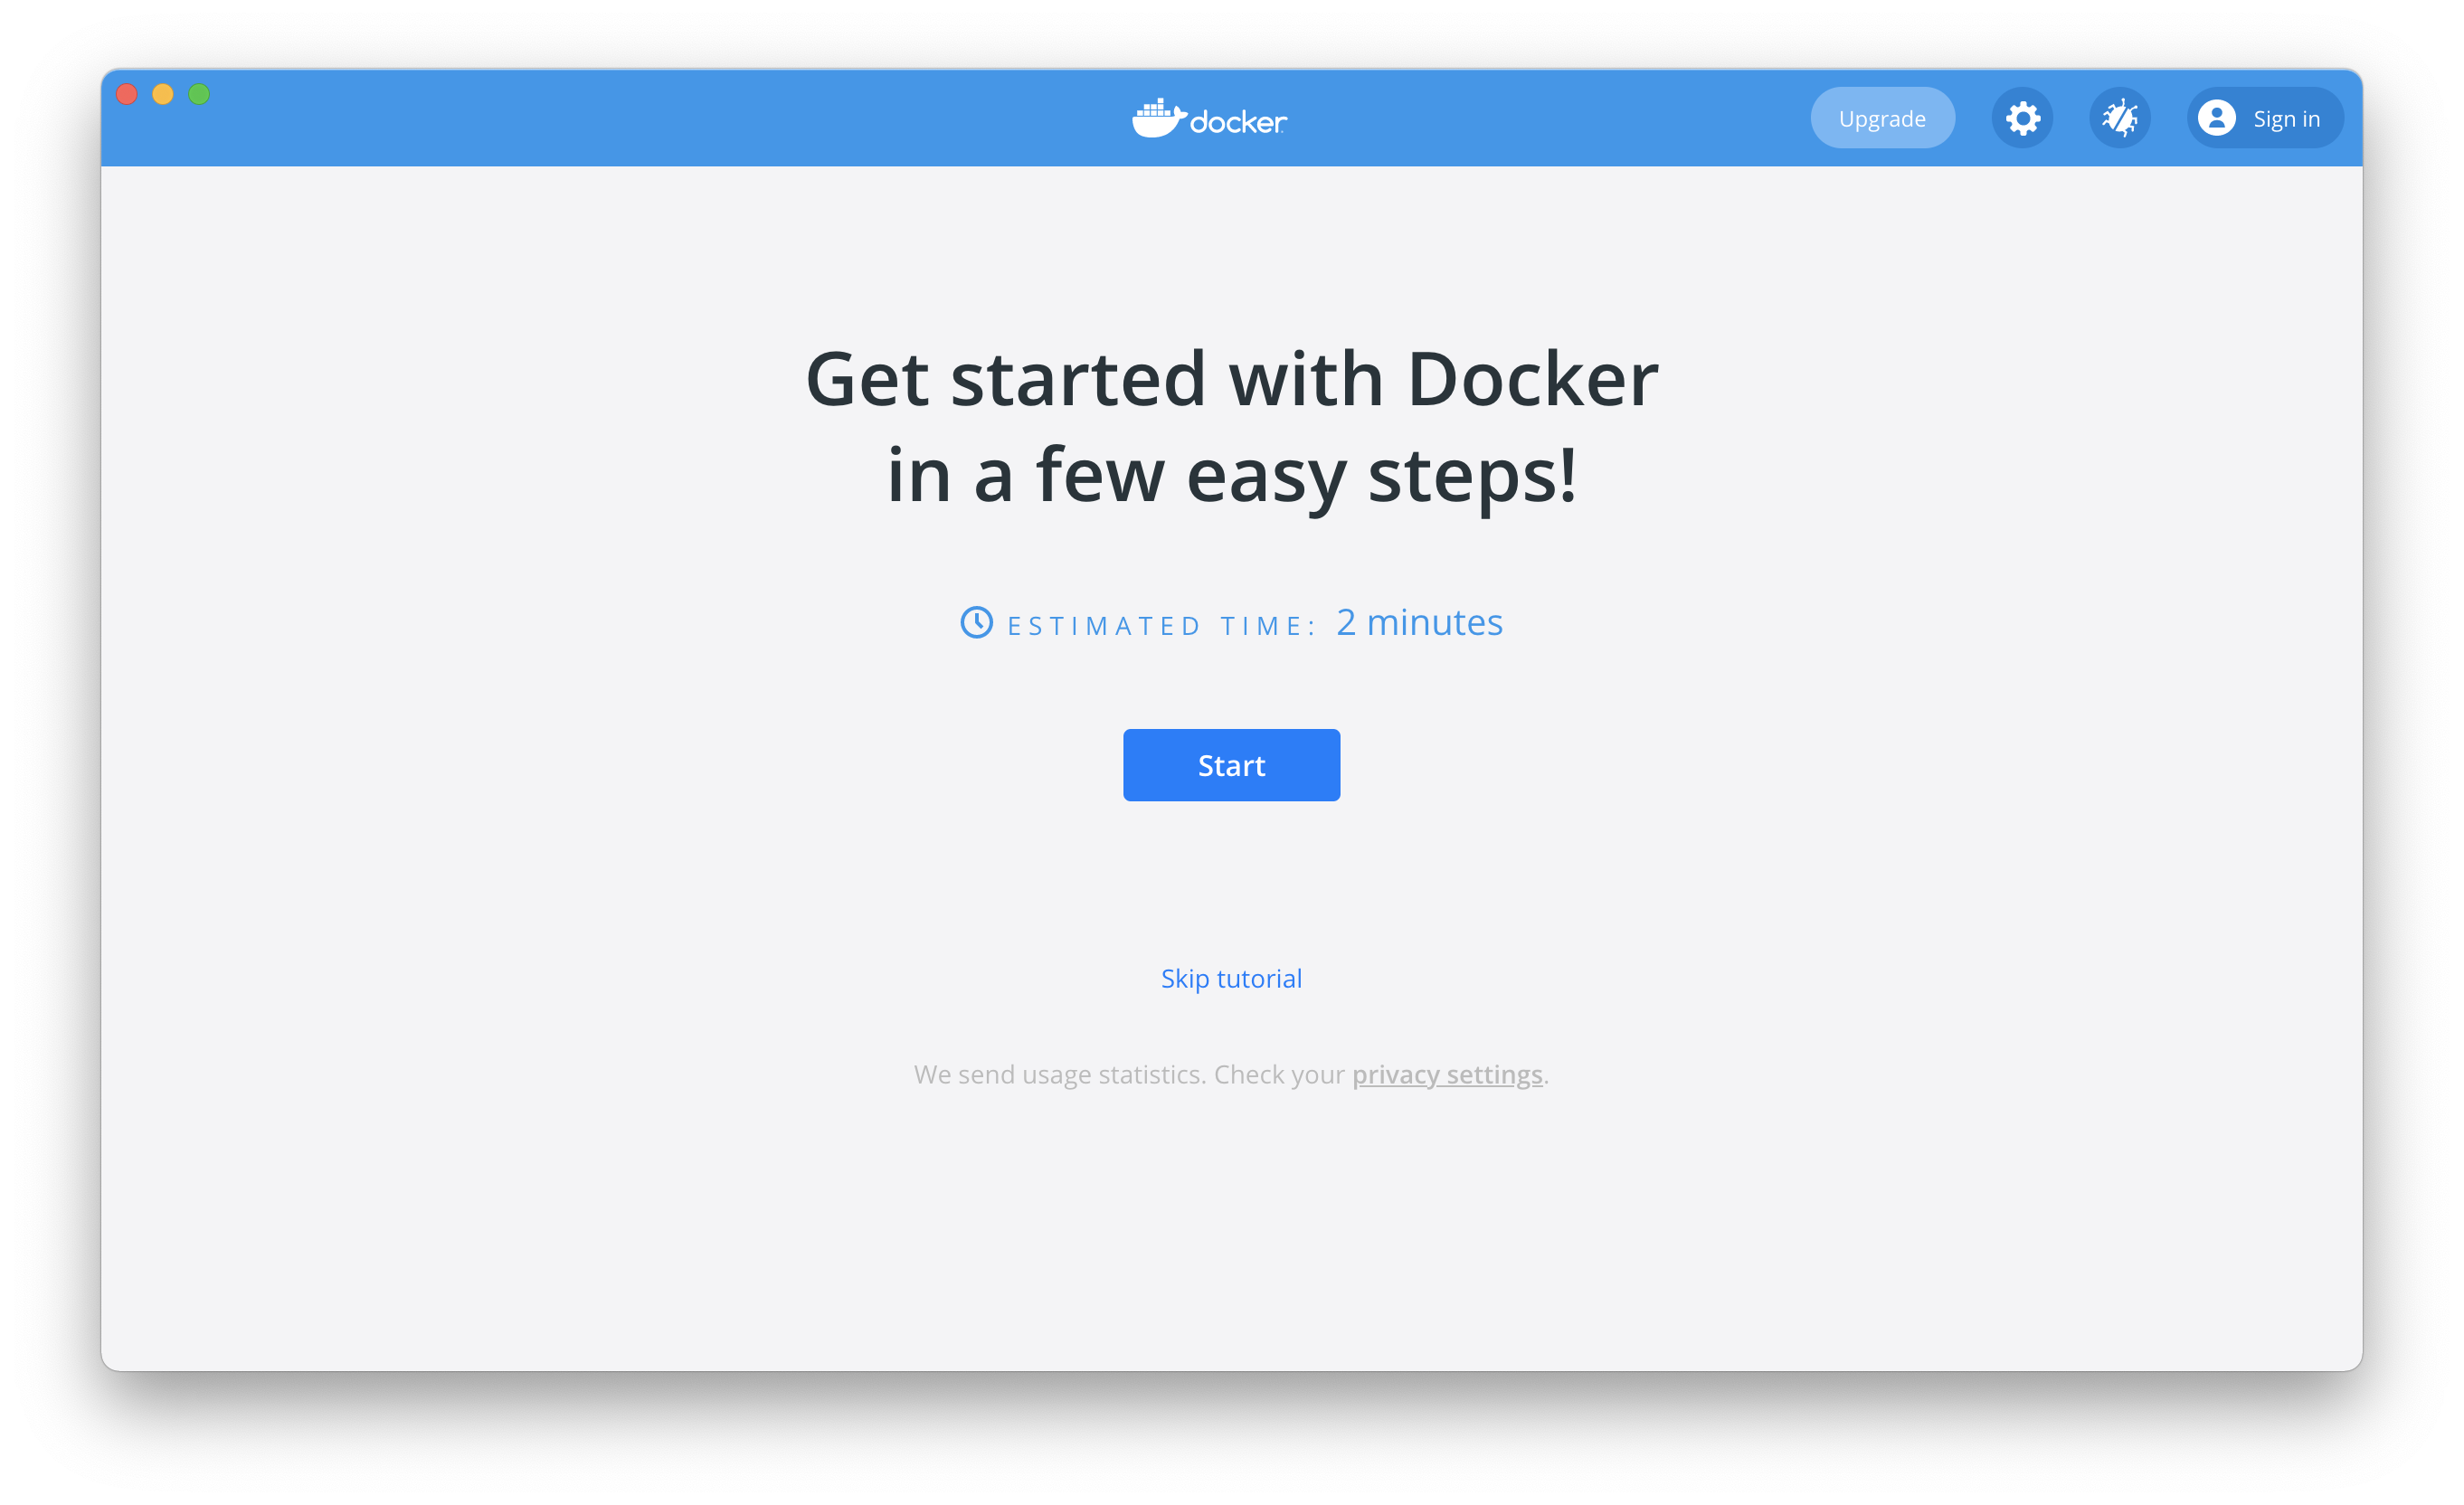
Now that the Docker application is open you can click "Skip tutorial" and close the window. The Docker service will continue to run in the background and can be accessed from the Docker icon in your menu bar.
You're done!
Now you can navigate to a research repo, on your local machine, and use opensafely via the command line.
Older style pipx installations🔗
Earlier versions of this document used pipx to install opensafely. If you are looking to update such a pipx-style installation and are having problems with opensafely upgrade, you could also try pipx reinstall opensafely --python ~/.pyenv/shims/python3.10.